Homeowner’s Checklist: How to Monitor Your Well Water Quality
Clean water is easy to take for granted—until something feels off. A strange taste. A faint smell. A stain in the sink that was not there before. For homeowners who rely on private wells, water quality is not managed by a city or utility. It is a personal responsibility.
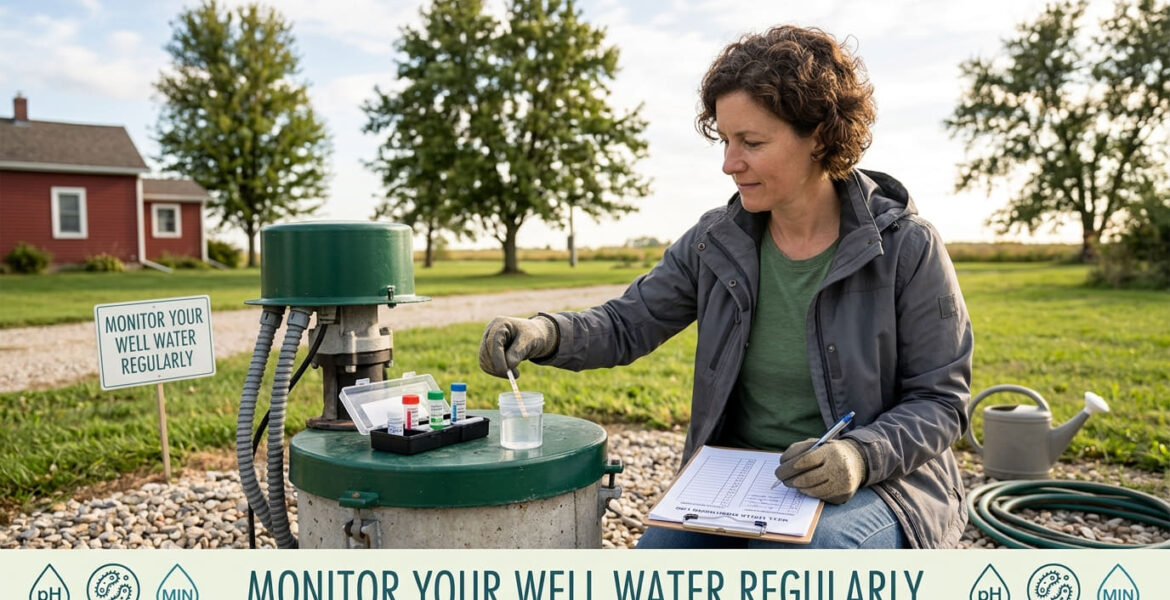
That is why learning how to monitor your well water regularly is not optional. It is essential. Regular monitoring protects your health, preserves your plumbing, and helps you avoid costly surprises later.
This guide is designed as a practical, homeowner-friendly checklist. It explains what to watch for, when to test, and how to stay ahead of problems. The goal is clarity, not complexity. With the right habits, well water can remain safe, reliable, and clean for years.
Section 1: Why Well Water Monitoring Is a Homeowner Responsibility
Unlike municipal water, private well water is not routinely tested by public agencies. That responsibility rests entirely with the homeowner. This may sound daunting at first, but it becomes manageable with a clear system.
Well water comes from underground sources that can change over time. Seasonal shifts, nearby construction, heavy rainfall, or aging well components can all affect water quality. Monitoring helps you detect changes early, before they become health risks.
Key reasons monitoring matters
- Protects your family from bacteria and contaminants
- Preserves appliances and plumbing systems
- Prevents long-term exposure to harmful substances
- Helps maintain property value
- Supports responsible groundwater use
By choosing to monitor your well water regularly, you stay in control rather than reacting to problems after they appear.
Section 2: Know Your Well and Its Surroundings
Before testing water, you need to understand your well itself. Every well is different. Depth, age, construction method, and location all influence water quality.
A well near farmland may face different risks than one near a residential area. A shallow well may be more vulnerable than a deeper one. Knowing these basics helps you test smarter, not harder.
What every homeowner should document
- Well depth and age
- Type of well (drilled, dug, or driven)
- Location on your property
- Nearby land use (farms, septic systems, roads)
- Flood history in the area
This information creates context. It helps labs interpret test results and allows professionals to spot patterns over time.
Section 3: Signs Your Well Water May Need Attention
Water often gives early warnings when something changes. Paying attention to these signs is one of the easiest ways to monitor your well water regularly.
Not all issues are visible. Some are subtle. Others appear suddenly. Both matter.
Common warning signs to watch for
- Unusual taste (metallic, salty, bitter)
- Odors (rotten egg, musty, chemical-like)
- Cloudy or discolored water
- Sediment in sinks or tubs
- Staining on fixtures or laundry
- Sudden pressure changes
If you notice any of these, testing should not be delayed. Early action often prevents bigger problems.
Section 4: How Often Should You Test Well Water?
Testing frequency is one of the most common homeowner questions. The short answer is: regularly, and with purpose.
At minimum, basic water testing should be done once a year. However, certain situations call for more frequent checks.
Recommended testing schedule
- Annually:Bacteria, nitrates, basic minerals
- Every 2–3 years:Metals and general water chemistry
- Immediately after:
- Flooding
- Well repairs
- Pump replacement
- Nearby construction
- Changes in taste or smell
Sticking to a schedule makes it easier to spot gradual changes. It also shows consistency, which is valuable if you ever sell your home.
Section 5: What to Test For and Why It Matters
Not all tests are the same. A good testing plan focuses on the most common and meaningful indicators of water quality.
Basic tests cover safety. Expanded tests cover comfort and long-term impact on your home.
Core well water tests
- Bacteria:Indicates potential contamination
- Nitrates:Especially important for households with children
- pH levels:Affects plumbing and taste
- Hardness:Impacts scaling and soap use
Additional tests to consider
- Iron and manganese
- Sulfur
- Total dissolved solids
- Lead (especially in older plumbing)
Testing does not need to be overwhelming. Start with essentials, then expand based on results and local conditions.
Section 6: Choosing the Right Testing Method
Homeowners often ask whether home test kits are enough. The answer depends on your goal.
Home kits are useful for quick checks and routine monitoring. Certified lab testing provides detailed, reliable results for health-related decisions.
Comparing testing options
Home test kits
- Fast and affordable
- Good for routine checks
- Limited accuracy and scope
Certified laboratories
- Highly accurate
- Broader testing options
- Best for official records
Many homeowners use both. Quick kits for regular awareness. Lab tests for confirmation and peace of mind.
Section 7: Understanding and Using Your Test Results
Test results can feel confusing at first. Numbers, ranges, and terms may seem unfamiliar. The key is focusing on what matters most: safety and trends.
Instead of reacting to a single result, look at changes over time. This long-term view is one of the strongest reasons to monitor your well water regularly.
How to review results effectively
- Compare results to previous tests
- Note rising or falling patterns
- Ask labs for plain-language explanations
- Keep copies in a dedicated file
If results fall outside safe ranges, do not panic. Many issues are manageable with filtration, treatment, or maintenance.
Section 8: Protecting Your Well Between Tests
Testing alone is not enough. Daily habits play a major role in water quality.
Simple protective steps reduce contamination risk and extend the life of your well system.
Preventive actions every homeowner should take
- Keep chemicals away from the well area
- Maintain safe distance from septic systems
- Ensure proper well cap and seal
- Divert surface water away from the well
- Avoid overuse during dry seasons
These steps cost little but offer long-term benefits.
Section 9: When to Call a Professional
Some situations require expert help. Knowing when to call a professional prevents guesswork and delays.
Call a professional if you notice
- Persistent contamination
- Sudden major changes in water quality
- Structural damage to the well
- Pump or pressure failures
- Repeated failed test results
Professionals bring experience and diagnostic tools that homeowners do not have. Their guidance can save time and money.
Section 10: Building a Simple Well Water Monitoring Routine
Consistency is the secret to success. You do not need to think about water quality every day. You just need a system.
A simple annual checklist
- Schedule annual testing
- Perform visual inspections quarterly
- Record all results
- Review changes year over year
- Adjust testing based on findings
This routine turns monitoring into a habit, not a burden.
Final Thoughts
Well water can be a reliable and safe source for decades. The difference between confidence and concern lies in awareness.
When homeowners choose to monitor your well water regularly, they protect more than just water quality. They protect health, comfort, and long-term peace of mind.
With the checklist in this guide, monitoring becomes clear, manageable, and effective. Clean water is not about luck. It is about informed care—one check, one test, and one smart decision at a time.